
Step by Step instructions to fill out your settings, connecting to Stripe and finally creating your first listing.
This should really only take 5-10 minutes and is a one time set up to create your profile
Step one: Verify your email address after registering and then Sign in
Step Two: Go to “List a Service”, the first time you go here it will have you complete your profile and base settings

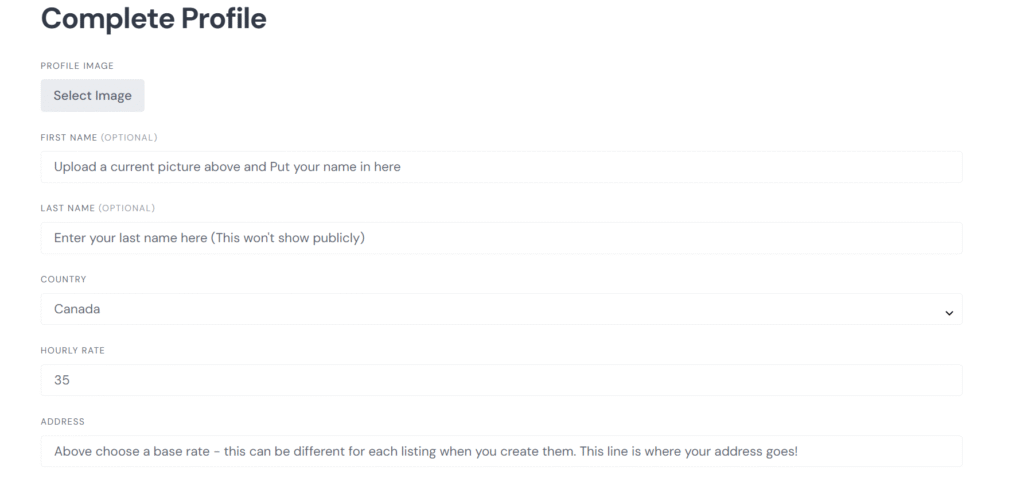
Step Three: Fill out your profile info!
- Upload a current photo for trust and safety – it is important that people know who to expect for their booking
- Fill in your name
- Fill in your last name
- Select your Country – Canada is the only country that we are currently operating in.
- Select a base hourly rate – once your profile is complete and you’ve connected a payment method you will be able to list multiple listings and have different hourly rates for each if you’d like, so this is just your default rate.
- Next fill in your address
- Fill in your postal code
- For availability it will offer “On Demand”, “Part Time” or “Full Time”, for now we recommend selecting On Demand
- Experience will provide you options of 1 year, 2-5 years, 6-9 year and 10 years +
- Fill in Profile Info – This is a little about you that people will see when they are deciding who to hire. It is a great way to list some experiences and sway people as to why you would be best for the job!
- Next is Profile Info – This is where you would put prior experience, any training, certifications, background checks, insurance etc. If you say that you have certifications, background checks, insurance etc you must be able to prove this if necessary. Honesty is always the best policy!
- Booking Offset – This would be how much notice you require. For example if you’re typically available same day, leave it blank, if you’d like a day or mores notice, this is where you would put that.
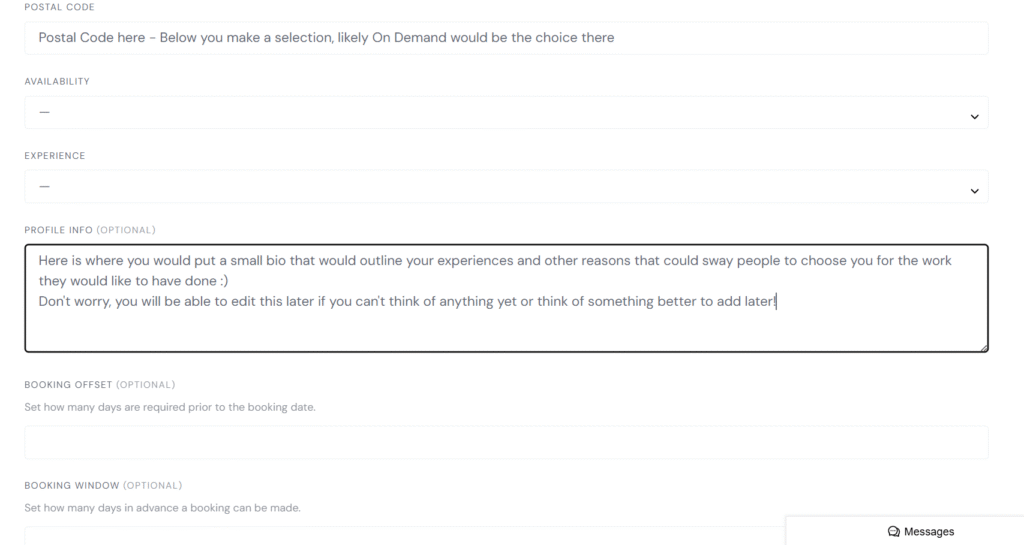
- Booking Window – This is how far out you can be booked. Perhaps this is 2 weeks, maybe a month! Please remember that if someone books you 3 weeks in advance, that they have paid and you will need to keep to the booking! So don’t choose a window too far out that you can’t guarantee that you can keep the booking please. I highly recommend filling out this section.
- Booking Days, available from and available to time sets up your calendar and makes it easier to manage later. These can be adjusted easily under the “Calendar” option that will become available once you create your first listing.
- Booking Timezone, for example if you’re in Alberta select Edmonton.
- Booking slot interval, this is time that is left between bookings. At the moment I recommend leaving this blank. It is not functioning as it should be. I’m sorry!!

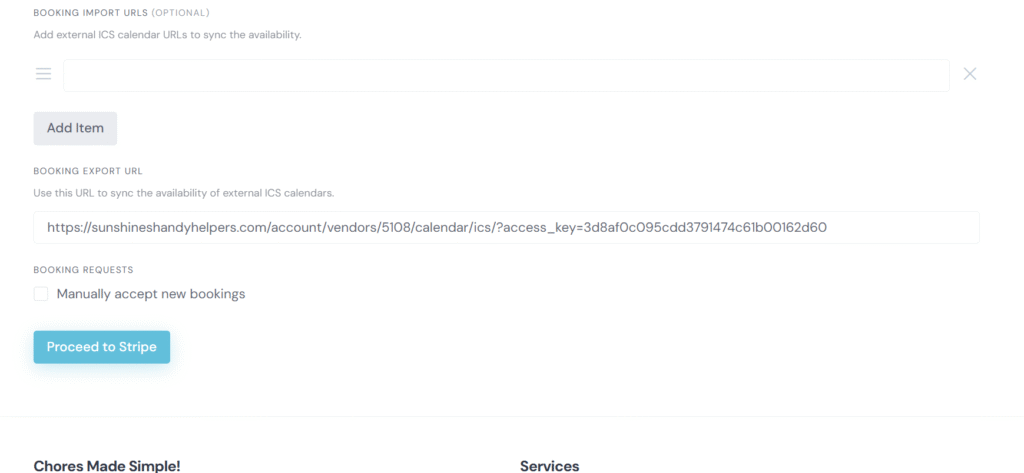
- Booking Import URL’s – This is Syncing your calendars
Add external ICS calendar URLs to sync the availability. – This is where you would add the URL from your external calendar. Perhaps it is your iphone calendar, maybe Google Calendar, Calendly etc. - Booking Export URL – This is the URL you would add to your external calendar so that any bookings made here would appear on your external calendar 🙂
- Booking Requests – I highly recommend Manually accepting Bookings. This means that when someone books time with you that you need to accept it first. If they haven’t messaged you prior to booking it is an opportunity to ask questions about the work they need to have done and ensure that you can confidently complete it, you can make sure that you are in fact available during that time etc. Once you accept, they will be sent an email to complete the booking and make payment.
If you do not require manually accepting bookings, clients will be able to book and pay right away. - Finally, connect to Stripe so that you can get paid!!!
Congratulations!! You’re ready to create your first listing!!